Replacing a sewage pump is a crucial task to ensure the continued functionality of your wastewater system. Proper execution of this process is essential to prevent disruptions and maintain hygiene. Here’s a step-by-step guide to help you finish sewage pump replacement.
Step 1: Gather the Necessary Tools and Materials
Before starting, ensure you have the following tools and materials on hand:Replacement sewage pump,Screwdrivers and wrenches,Pipe wrench,PVC pipe and fittings (if needed),Pipe glue and primer,Safety gloves and goggles,Flashlight,Bucket or wet/dry vacuum,Towels or rags.
Step 2: Turn Off the Power
Safety is paramount when dealing with electrical appliances. In sewage pumping station, locate the circuit breaker connected to the sewage pump and switch it off. Use a voltage tester to confirm there is no power running to the sewage pump.
Step 3: Disconnect the Broken Sewage Pump
Access the sewage pump, typically located in a sump pit or septic tank. Remove the pit cover carefully. If the pit contains water, use a bucket or wet/dry vacuum to drain it to a manageable level. Disconnect the pump from the discharge pipe by loosening the clamps or unscrewing the fittings. If the pump has a float switch, disconnect it as well.
Step 4: Remove the Old Sewage Pump
Wear gloves to protect yourself from contaminants. Lift the old sewage pump out of the pit. Be cautious as it may be heavy and slippery. Place the pump on a towel or rag to avoid spreading dirt and water.
Step 5: Inspect the Pit and Components
Check the sump pit for any debris, buildup, or damage. Clean it thoroughly using a wet/dry vacuum or by hand. Inspect the check valve and discharge pipe for clogs or wear. Replace these components if necessary to ensure optimal operation.
Step 6: Start Sewage Pump Replacement
Prepare the new sewage pump by attaching any necessary fittings as per the manufacturer’s instructions. Lower the pump into the pit, ensuring it is level and stable. Reconnect the discharge pipe securely. If a float switch is included, adjust it to the correct position for proper operation.
Step 7: Test the New Installation Sewage Pump
Reconnect the power supply and switch on the circuit breaker. Fill the pit with water to test the pump’s functionality. Observe the pump’s operation, ensuring it activates and deactivates as expected. Check for leaks in the discharge pipe connections.
Step 8: Secure the Setup
Once the new sewage pump is functioning correctly, replace the pit cover securely. Ensure all connections are tight and that the area is clean and free from hazards.
Tips for Maintenance
1.Schedule regular inspections to prevent future breakdowns.
2.Clean the sump pit periodically to avoid clogs.
3.A repairman need finish sewage pump repair if has worn components.This can extend the sewage pump’s lifespan.
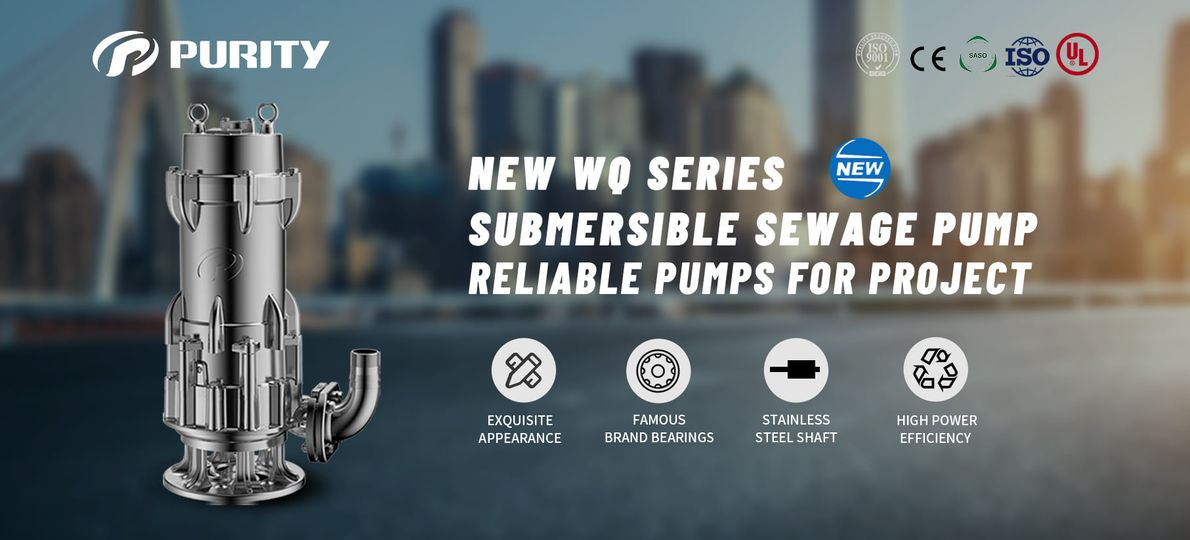
Purity Submersible Sewage Pump Has Unique Advantages
1. Overall structure of the Purity submersible sewage pump is compact, small in size, disassembled and easy to maintain. No need to build a sewage pumping station, it can work by immersing in water.
2. Purity submersible sewage pump uses a stainless steel welded shaft, which can improve the rust resistance of the key component shaft. In addition, there is a bearing pressure plate at the bearing to increase the service life of the submersible sewage pump and reduce maintenance costs.
3. Purity submersible sewage pump is equipped with a phase loss/overheating protection device to avoid overload operation and burnout problems and protect the pump motor.
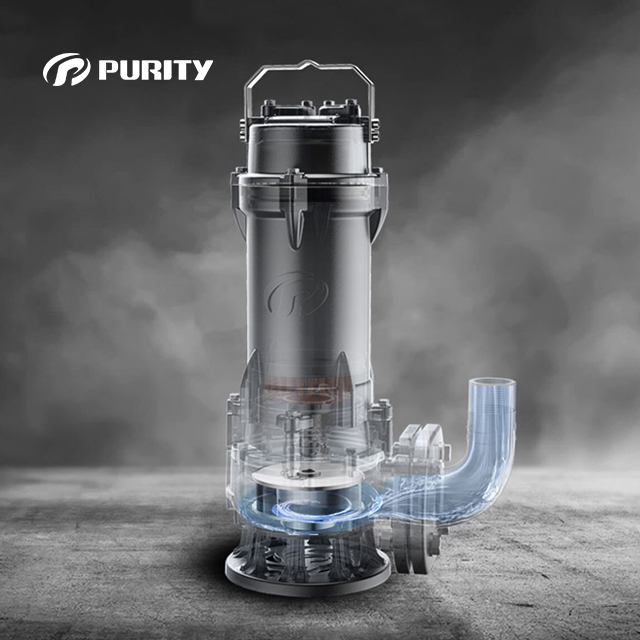
 Figure| Purity Submersible Sewage Pump WQ
Conclusion
Replacing a sewage pump can be straightforward with proper preparation and care. However, if you encounter challenges or are unsure about the process, it’s wise to consult a professional plumber to ensure the task is completed safely and effectively. Lastly,Purity pump has significant advantages among its peers, and we hope to become your first choice. If you are interested, please contact us.
Post time: Dec-27-2024


